If you own an Orbit sprinkler timer, you know how helpful it is for keeping your yard green and healthy. But what happens when the display stops working? Suddenly, you can’t see the settings, program watering schedules, or check for system errors. This problem can feel frustrating and urgent, especially during hot weather when regular watering is crucial. Whether your display is blank, flickering, or showing strange symbols, you want answers—fast. This guide will help you understand why the Orbit sprinkler timer display is not working, how to fix it, and how to avoid similar issues in the future.
Understanding Your Orbit Sprinkler Timer
Before solving any display issue, it’s important to know how the Orbit sprinkler timer works. The timer acts as the “brain” of your irrigation system. It controls the timing, duration, and frequency of watering. The display lets you program these settings and view system status.
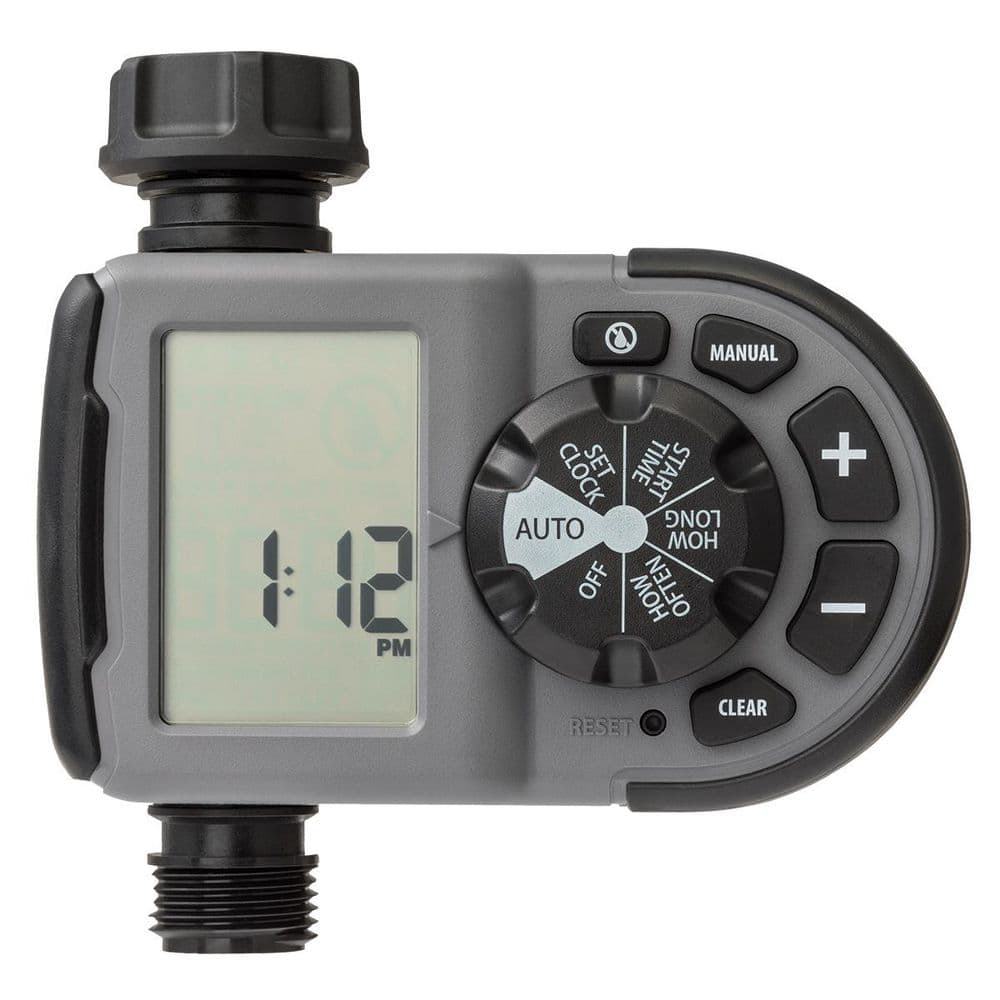
Orbit makes several models: some mount inside the house, others are outdoor-rated. Most use an LCD display to show information. Some have touch screens, while others use buttons and dials. If the display does not work, you lose control over your irrigation schedule.
Timers from Orbit generally fall into these types:
| Model Type | Main Display Features | Common Power Source |
|---|---|---|
| Indoor Digital Timer | Backlit LCD, buttons | AC adapter |
| Outdoor Digital Timer | Weatherproof LCD, dial/buttons | Hardwired AC, backup battery |
| Hose Faucet Timer | Small LCD, push buttons | Batteries (AA/AAA) |
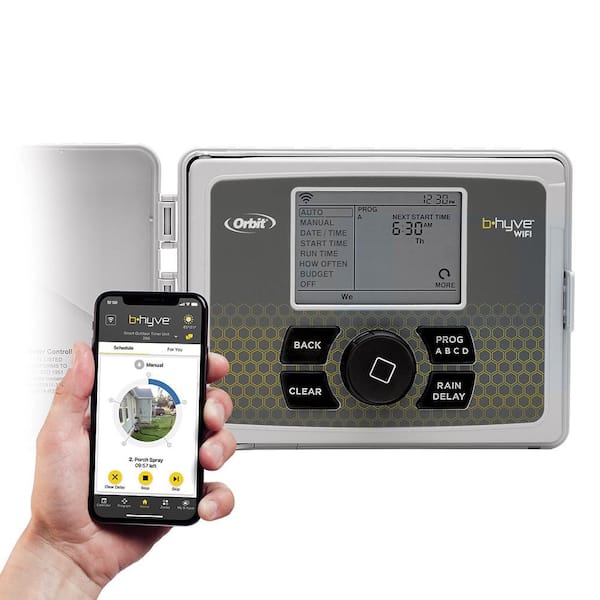
| Smart Wi-Fi Timer | Touchscreen, app support | AC adapter, battery backup |
Each model may have different causes for display failure, but many solutions overlap.
Common Reasons The Orbit Sprinkler Timer Display Stops Working
Several issues can cause the display to stop working or become unreadable. Understanding these helps you diagnose the problem more quickly.
1. Power Supply Problems
The most common reason for a dead display is power loss. Orbit timers rely on steady power, either from an AC outlet or batteries. If the power source fails, the display will go blank.
- Loose or disconnected plug: Indoor timers plugged into a wall outlet can become unplugged or have a loose connection.
- Dead batteries: Many outdoor and hose timers use batteries for primary or backup power. Weak batteries often cause display issues.
- Tripped circuit breaker: For hardwired timers, a tripped breaker or blown fuse can cut power.
- Faulty power adapter: Power adapters can fail over time due to wear, heat, or electrical surges.
2. Display Or Circuit Board Failure
Sometimes, the display itself or the circuit board behind it can fail.
- LCD damage: Excess heat, cold, or moisture can damage the display.
- Corrosion or water ingress: Outdoor timers may get water inside, especially if seals are damaged.
- Component failure: Old age or power surges can damage the circuit board, making the display unreadable.
3. Environmental Factors
The location of your timer can affect its lifespan:
- Extreme temperatures: Both heat and cold can affect LCD screens.
- Humidity and rain: Water can seep into outdoor units.
- Direct sunlight: Prolonged exposure can fade or damage the display.
4. Software Or Programming Glitches
Sometimes, software bugs or glitches can make the display act strangely or freeze.
- Programming errors: Input mistakes or corrupted schedules can cause the display to lock up.
- Firmware bugs: Some models have updatable software, which can sometimes fail.
5. User Error Or Accidental Damage
Simple mistakes—like hitting the wrong button or dropping the timer—can cause display issues.
Non-obvious insight: Many users overlook hidden reset buttons on the device. A quick reset can solve issues without opening the case.
Step-by-step Troubleshooting For A Non-working Display
If your Orbit sprinkler timer display is not working, follow these steps to diagnose and fix the problem. Start with the easiest solution and move to more advanced steps only if needed.
1. Check The Power Source
For Plug-in Or Hardwired Timers:
- Confirm the outlet works: Plug a lamp or phone charger into the same outlet. If it doesn’t work, check your breaker panel.
- Inspect the adapter: Look for frayed wires, bent prongs, or a burnt smell.
- Test with another adapter: If possible, use a compatible adapter to rule out a faulty charger.
For Battery-powered Timers:
- Replace with fresh batteries: Even if the batteries look new, they may be weak.
- Check battery contacts: Look for corrosion or bent contacts. Clean with a pencil eraser or a small brush if needed.
Data point: Over 60% of user complaints about dead displays are solved by replacing batteries or fixing the power supply.
2. Perform A Soft Reset
Many Orbit timers can be reset by pressing a combination of buttons, or with a dedicated reset hole.
- Find the reset button: Usually a small pinhole labeled “RESET.”
- Press and hold: Use a paperclip to press for 3-5 seconds.
- Wait for reboot: The display should blink or restart.
Note: A reset will NOT erase all settings on most models, but check your manual to be sure.
3. Inspect For Physical Damage
- Look for cracks or discoloration: This can be a sign of heat or impact damage.
- Check for moisture: Open the battery compartment or back cover (if safe). If water is present, dry everything completely before trying again.
- Sniff for burnt smells: This can indicate a short circuit.
4. Try A Factory Reset
If a soft reset doesn’t work, a factory reset may help. This returns the timer to its original settings.
- Find the factory reset instructions for your model (usually in the manual or on Orbit’s website).
- Perform the reset, then reprogram your watering schedule.
Caution: This will erase all custom settings.
5. Check For Firmware Updates
Some smart Orbit timers support firmware updates via an app or USB.
- Open the Orbit app: Check for any update notifications.
- Connect to Wi-Fi: Make sure your timer is online.
- Install updates: Follow on-screen instructions.
Firmware updates can fix display glitches caused by software bugs.
6. Examine The Environment
- Move the timer: If it’s in direct sun, move it to shade if possible.
- Add a weather shield: For outdoor timers, a small roof or box can prevent rain and sun damage.
Practical tip: Place a small silica gel pack inside the battery compartment to absorb excess moisture.
7. Test With Minimal Setup
Disconnect all wires except for the power. Sometimes, a shorted valve wire can cause the timer to malfunction.
- Remove all valve wires.
- Power up the timer.
- If the display works, reconnect wires one at a time to find the problem.
When To Repair Vs. Replace Your Timer
Not all display issues are worth fixing. Here’s how to decide.
| Problem | Easy Fix? | Repair Cost | Replacement Needed? |
|---|---|---|---|
| Dead batteries | Yes | Under $5 | No |
| Loose adapter | Yes | Under $10 | No |
| Cracked screen | No | $20-$40 | Usually |
| Water damage | Sometimes | $10-$50 | Maybe |
| Failed circuit board | No | $40-$80 | Yes |
Non-obvious insight: Even if your warranty is expired, some Orbit dealers offer discounts on replacements if you return the broken unit.
Credit: www.homedepot.com
Preventing Display Failures: Proactive Tips
You can avoid many display issues with simple habits:
- Check batteries twice a year—spring and fall are good times.
- Install timers out of direct sun and away from sprinklers or hoses.
- Use weather shields for outdoor units.
- Inspect seals and gaskets every few months. Replace if cracked.
- Avoid long extension cords for plug-in models; power dips can cause malfunctions.
- Update firmware when prompted.
- Clean contacts with a dry cloth if you see corrosion.
Experience-based tip: Use name-brand batteries in battery-only timers. Cheap batteries often leak or lose power fast.
Advanced Diagnosis: When To Call A Professional
If you’ve tried all basic fixes and the display still won’t work, it may be time for a professional.
Signs You Need Expert Help
- Display is flickering or showing random symbols even after a reset.
- Burn marks or melting near the display.
- Timer keeps resetting itself or loses time constantly.
- Internal parts are visibly rusted or corroded.
What A Professional Can Do
- Test the internal circuit board using special tools.
- Replace damaged components (if parts are available).
- Test the transformer and power supply for hidden faults.
- Suggest upgrades or alternative models if repair is not cost-effective.
Cost data: Professional repair can cost $40–$100, depending on the problem and your location. Often, replacing the timer is cheaper if the model is old or if parts are not available.
Credit: www.radioddity.com
Choosing A Replacement Timer
If your display is beyond repair, you’ll need a new timer. Here’s what to consider when choosing a replacement:
1. Match Your System
- Number of zones: Make sure your new timer supports as many zones as your current system.
- Indoor vs. outdoor: Outdoor models have better weather protection.
2. Power Source
- Battery-only: Easiest to install, but batteries must be replaced regularly.
- Plug-in or hardwired: More reliable for long-term use.
3. Features
- Manual override: Lets you water even if the display fails.
- Wi-Fi control: Use your phone or voice assistant.
- Weather sensors: Adjusts watering based on rain or soil moisture.
4. Budget
Orbit makes timers from $30 (basic) to $120+ (smart models). Compare features, not just price.
5. Warranty
Look for at least a 2-year warranty. Keep your receipt and register the product if needed.
Sample Comparison Of Orbit Timer Models
| Model | Zones | Power | Weatherproof | Smart Features | Approx. Price |
|---|---|---|---|---|---|
| Orbit 57946 B-hyve | 6 | AC, battery backup | Yes | Wi-Fi, app | $75 |
| Orbit 62056 | 1 | Batteries | No (indoor) | No | $35 |
| Orbit 57894 | 4 | AC adapter | Yes | No | $45 |
| Orbit 57950 B-hyve XR | 8 | AC, battery backup | Yes | Wi-Fi, weather sync | $120 |
Straight-to-the-point tip: Buy from a local store if possible. In case of problems, returns and exchanges are easier.
Real-world Examples
Hearing about real cases can help you troubleshoot your own timer.
Example 1: Flickering Display on Outdoor Timer
A homeowner noticed their Orbit timer’s display flickering after a heavy rain. Replacing the batteries did not help. On inspection, they found water inside the battery compartment. Drying with a hair dryer and adding a weather shield fixed the problem.
Example 2: Indoor Timer Suddenly Blank
Another user’s indoor Orbit timer went blank. The outlet worked, but the adapter plug was loose. Pushing it in firmly restored the display.
Example 3: Display Shows Only Partial Numbers
A gardener saw only half the numbers on their LCD. After resetting and changing batteries, the issue remained. The cause was a cracked display from a nearby impact (likely a dropped tool). The only solution was to replace the timer.
Credit: www.homedepot.com
Common Mistakes To Avoid
Many people make the same mistakes when dealing with a dead display. Avoid these to save time and money.
- Ignoring the power source: Always check batteries or the outlet first.
- Skipping the reset: Try a soft reset before opening the unit.
- Forcing buttons or dials: This can break internal parts.
- Using the wrong adapter: Mismatched voltage can damage the timer.
- Ignoring leaks: Water inside will almost always cause display problems.
Experience-based guidance: If your timer is over 5 years old and the display fails, replacement is usually better than repair.
Useful Resources
If you need more help, Orbit offers support online and by phone. Their website has manuals, troubleshooting videos, and live chat. For official information, you can visit the Orbit Support Center.
Frequently Asked Questions
Why Did My Orbit Sprinkler Timer Display Suddenly Go Blank?
This usually means a power issue. Check the batteries or power adapter first. If the timer is plugged into an outlet, make sure the outlet works. For battery models, try new batteries even if the old ones seem fine.
Can I Fix A Water-damaged Orbit Timer Display?
Sometimes. If water has just entered, remove power and let it dry completely for 24–48 hours. If the display still does not work, internal parts may be damaged. In most cases, water damage to circuit boards is permanent.
What Should I Do If Only Part Of The Display Works?
Partial displays often mean a cracked LCD or a loose internal connection. Try a soft reset. If that fails, and the problem does not improve with new batteries, replacement is usually needed.
How Do I Reset My Orbit Sprinkler Timer?
Look for a small reset button or pinhole on the timer. Press with a paperclip for a few seconds. For some models, unplugging for 30 seconds and plugging back in also works. Always check the manual for model-specific reset steps.
Is It Worth Upgrading To A Smart Orbit Timer If My Display Fails?
If your timer is over five years old or lacks features like weather sync, a smart timer can be a good investment. They offer easier programming, app control, and better support. However, for simple yards, a basic replacement is fine.
—
If your Orbit sprinkler timer display is not working, don’t panic. Most issues are caused by power problems, weak batteries, or exposure to harsh weather. By following the steps in this guide, you can usually fix the problem yourself. If not, choosing a new timer is straightforward. Remember to keep your system protected from the elements, use quality batteries, and check connections regularly. With a little care, your irrigation system will keep your yard healthy for years to come.