If you own a Noco Genius 1 battery charger, you expect it to keep your batteries healthy and ready. But what does it mean when you see a red light blinking on your Noco Genius 1? For many people, this warning can be confusing, especially if you are not a battery expert. Is your battery bad? Is the charger broken? Or did you just miss a simple step? Knowing the real reason behind the blinking red light can save you time, money, and frustration. Let’s break down what this signal means, how to fix it, and how to keep your charger working its best.
What Is The Noco Genius 1?
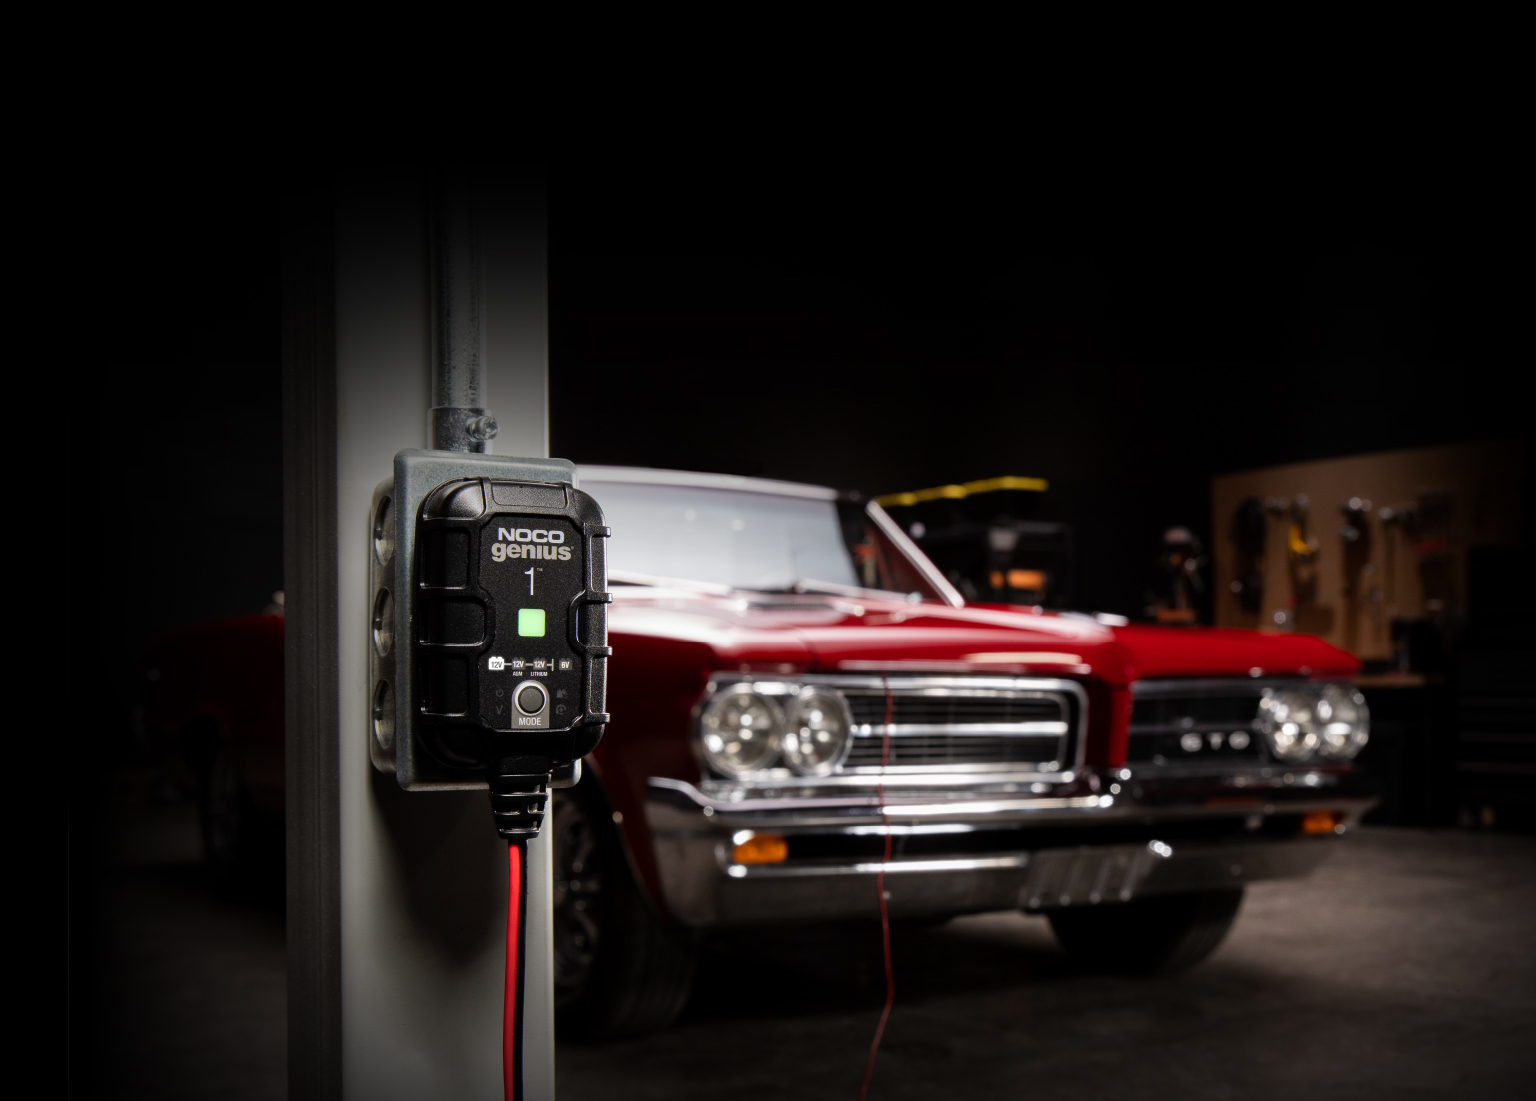
The Noco Genius 1 is a smart battery charger and maintainer. It is popular for charging 6V and 12V lead-acid batteries (like those in cars, motorcycles, or boats) and some lithium-ion batteries. The Genius 1 is well-known for its safety, compact size, and ability to “diagnose” your battery’s health automatically. It uses indicator lights to show you what’s happening during charging.
Understanding The Red Light On The Noco Genius 1
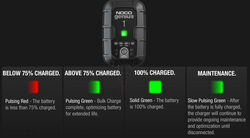
The charger has several indicator lights. The red light blinking is one of the most common signals users see, and it often causes concern. But not every red light means disaster. The meaning depends on how the red light is blinking and what stage the charger is in.
Solid Red Vs. Blinking Red Light
- Solid Red Light: The battery is charging normally. No problem here.
- Blinking Red Light: The charger has detected a problem or is in a special mode.
It’s important to note that not all blinking is the same. The speed and pattern of the blink can give clues to the issue.

Credit: www.antillespr.edu
Main Reasons For Noco Genius 1 Red Light Blinking
Let’s look at the most common causes for a blinking red light and how to respond to each situation.
1. Battery Voltage Is Too Low
If your battery is deeply discharged (very low voltage), the Genius 1 may not recognize it. For example, a 12V battery below about 7 volts can trigger the red blinking light.
What to do:
Try using the Force Mode (hold down the mode button for 5 seconds). This tells the charger to begin charging even if the battery voltage is very low. However, only do this if you’re sure the battery is not damaged.
2. Battery Is Bad Or Sulfated
A battery that is old, damaged, or sulfated (covered in hard lead sulfate crystals) will not accept a charge properly. The Genius 1 detects this and blinks red to warn you.
What to do:
Test the battery with a multimeter or at an auto parts store. If the battery cannot hold a charge, it is time for a replacement.
3. Incorrect Charger Mode
The charger has different modes for different battery types (6V, 12V, lithium). Using the wrong mode can cause the red light to blink.
What to do:
Check that the mode matches your battery. Hold the mode button to cycle through the options.
4. Reverse Polarity Or Bad Connection
If you connect the clamps to the wrong terminals (reverse polarity), or if the connection is loose or corroded, the charger will blink red.
What to do:
Double-check the clamp connections: red to positive (+), black to negative (–). Clean any corrosion from the terminals and make sure the clamps are secure.
5. High Battery Temperature
If the battery or charger is too hot, the Genius 1 will stop charging and blink red to prevent damage.
What to do:
Let the battery and charger cool down before trying again.
6. Internal Charger Error
Very rarely, the charger itself may have a fault.
What to do:
Unplug the charger, wait a minute, and plug it back in. If the red light keeps blinking with every battery, contact Noco support.
How The Noco Genius 1 Detects Problems
The Genius 1 uses a small computer inside to monitor your battery. It checks:
- Voltage (is it too low or too high?)
- Polarity (are clamps reversed?)
- Temperature (is it too hot?)
- Charge acceptance (is the battery taking power?)
If any of these are outside safe limits, the charger protects itself and your battery by warning you.
Step-by-step: What To Do When The Red Light Blinks
Follow these steps to identify and fix the issue safely:
- Unplug the charger from the wall for safety.
- Inspect battery terminals for dirt or corrosion. Clean if needed.
- Check connections: Red clamp to positive, black clamp to negative.
- Test battery voltage with a multimeter. If below 7V for a 12V battery, it may need force mode.
- Select the correct charging mode for your battery type.
- Try force mode if the battery is deeply discharged but not damaged.
- Let charger and battery cool if they feel hot.
- Try a different battery with the charger. If it blinks red with every battery, the charger may be faulty.
Comparison: Noco Genius 1 Vs. Other Smart Chargers
To see how the Genius 1 compares with similar chargers, look at this table:
| Feature | Noco Genius 1 | Battery Tender Junior | Schumacher SC1281 |
|---|---|---|---|
| Max Charging Current | 1A | 0.75A | 6A/30A |
| Compatible Batteries | 6V/12V lead-acid, lithium | 6V/12V lead-acid | 6V/12V lead-acid |
| Reverse Polarity Protection | Yes | Yes | Yes |
| Force Mode | Yes | No | No |
| Price Range (USD) | $30-$40 | $25-$35 | $60-$80 |
The Genius 1 stands out for its force mode and support for lithium batteries, which many basic chargers lack.
How Force Mode Works (and When To Use It)
Force mode is a special feature of the Genius 1. When a battery is so discharged that the charger thinks it is “dead,” force mode lets you override the safety check and begin charging. To activate:
- Connect the charger to the battery and power.
- Hold the mode button for 5 seconds until the red light turns solid (not blinking).
- The charger will now try to charge, even at a very low voltage.
Warning: Only use force mode if you are sure the battery is not shorted or physically damaged. Charging a truly dead or damaged battery can be dangerous.
Common Mistakes When Using The Noco Genius 1
Some issues that cause the red blinking light are due to common user mistakes:
- Not selecting the correct mode for your battery type.
- Forcing charge on a bad battery, leading to more damage.
- Ignoring dirty or corroded terminals, which reduces charging efficiency.
- Using the charger outside safe temperature ranges (below 32°F or above 104°F).
Avoiding these mistakes will help you get the best performance from your charger.
Credit: no.co
Data: Typical Battery Voltages And Blinking Behavior
Understanding normal voltages can help you diagnose problems. Here is a quick reference:
| Battery Type | Healthy Voltage (Resting) | Charger Behavior |
|---|---|---|
| 12V Lead-Acid | 12.6V–12.8V | Charges normally, no blink |
| 12V Lead-Acid (Discharged) | Below 11.8V | May blink red, try force mode |
| 12V Lead-Acid (Bad) | Below 7V | Blinks red, may not recover |
| 6V Lead-Acid | 6.3V–6.4V | Charges normally, no blink |
When To Replace Your Battery
Even the best charger cannot fix a battery that is too old or damaged. Signs you need a new battery:
- Repeated red blinking, even after trying force mode.
- Battery will not hold a charge above 12V (for 12V batteries).
- Swollen, cracked, or leaking battery case.
- Battery is more than 4-6 years old (for most car batteries).
Remember, using a charger on a bad battery can be unsafe. Always replace batteries that show physical damage or will not hold a charge.
Extra Insights Most Beginners Miss
- Voltage drop after charging: Sometimes a battery seems to charge fine, but drops below 12V soon after you disconnect the charger. This means the battery is failing, even if the charger did not blink red during charging.
- Parasitic drain confusion: If you leave accessories (like lights or alarms) connected while charging, the charger may blink red because the battery is losing power as fast as it charges. Always disconnect extra loads before charging.
- Lithium battery protection: Many lithium batteries have a built-in safety circuit. If the battery is too deeply discharged, this circuit may disconnect the battery. The charger will blink red, but the battery is not truly bad. Waking up a lithium battery sometimes requires a different charger or special steps.
Preventing Future Red Light Issues
A few simple habits can help you avoid charger problems:
- Charge batteries regularly if they are not used often.
- Clean terminals before each charge.
- Store charger and battery in a dry, moderate-temperature place.
- Check charger firmware updates on Noco’s official site for any fixes.
Real User Example
Jenny, a motorcycle owner, saw the blinking red light after winter. Her battery read only 6 volts. She activated force mode, and the charger started working. After charging, her battery reached 12. 3V but dropped to 11. 5V within an hour.
This meant the battery was damaged and needed replacing—even though the charger helped revive it temporarily.
Where To Find More Help
The official Noco website offers manuals and support. For deeper battery knowledge, Wikipedia’s lead-acid battery guide is a trusted resource.
Credit: www.etrailer.com
Frequently Asked Questions
What Does A Fast-blinking Red Light Mean On Noco Genius 1?
A fast-blinking red light usually signals a serious problem, like reverse polarity or a completely dead battery. Double-check your connections, and try force mode only if you’re sure the battery is safe.
Can I Use The Noco Genius 1 To Charge A Lithium Battery?
Yes, but only if the lithium battery supports charging with a standard charger and you select the correct mode. Always check your battery’s manual before charging.
Is It Safe To Use Force Mode On Any Battery?
No. Force mode should only be used if you are sure the battery is not shorted or physically damaged. Never use force mode on a swollen, leaking, or damaged battery.
Why Does My Battery Charge But Then Lose Power Quickly?
This usually means your battery is sulfated or aged. It cannot hold a charge. Even if the charger works, the battery needs replacement.
How Do I Know If My Noco Genius 1 Is Defective?
If the charger blinks red with every battery, even known good ones, and you have checked all connections and modes, your charger may be faulty. Contact Noco support for help.
A blinking red light on your Noco Genius 1 can be worrying, but with the right steps, most issues are easy to solve. Always check your connections, battery health, and charger mode before jumping to conclusions. Regular maintenance and careful use will help your charger and batteries last for years.
Stay safe and happy charging!