The Xtool F1 is a popular laser engraver known for its precision, speed, and user-friendly features. Many users, especially hobbyists and small business owners, rely on it for detailed designs and professional results. But sometimes, a frustrating issue appears: the blue light on the Xtool F1 stops working. This problem can slow down your workflow, create confusion, and even damage your device if not handled properly.
Understanding why the blue light isn’t working is important for getting your machine back in action quickly. The blue light is not just a design feature—it’s central to alignment, safety, and operation. If you’re facing this issue, you might feel overwhelmed, especially if you’re new to laser engraving. But with the right guidance, you can diagnose and fix the problem without much stress.
This article will walk you through the possible causes, troubleshooting steps, repair options, and preventive tips for the Xtool F1 blue light issue. You’ll find practical advice, clear explanations, and real examples. Whether you’re a beginner or a seasoned user, you’ll learn how to tackle the blue light problem confidently and keep your Xtool F1 running smoothly.
What Does The Xtool F1 Blue Light Do?
Before diving into repairs, it’s important to know what the blue light actually does. The blue light isn’t just decorative—it’s a functional part of the engraver.
- Alignment: Helps position your material accurately.
- Safety: Indicates when the laser is active or ready.
- Operation Feedback: Confirms that your engraver is working as expected.
Many users rely on the blue light for quick visual feedback. When it fails, it can lead to mistakes like misaligned engravings, wasted materials, or even safety hazards. This is why fixing the blue light is more than a cosmetic issue—it’s essential for proper operation.
Common Causes Of Xtool F1 Blue Light Not Working
A non-working blue light can be caused by several factors. Some are simple, while others require deeper technical knowledge. Here are the most frequent reasons:
- Loose Connections: The wires connecting the blue light may come loose over time, especially if the machine is moved often.
- Faulty LED: The LED itself may burn out or fail due to age or manufacturing defects.
- Power Supply Issues: If the power supply is unstable or interrupted, the blue light will not work.
- Software Glitches: Sometimes, firmware or software errors prevent the light from turning on.
- User Settings: The blue light can be disabled in the settings, either accidentally or intentionally.
- Motherboard Problems: Damage to the control board can affect the blue light and other features.
- Overheating: Prolonged use can cause components to overheat, leading to temporary or permanent failure of the blue light.
- Environmental Factors: Excessive dust, humidity, or vibration can damage the light or its wiring.
Each cause has different signs and solutions. Identifying the exact reason is the first step toward fixing it.
Diagnosing The Blue Light Issue
Diagnosing the problem is a key step. Here’s a practical approach that works for most users:
Step 1: Visual Inspection
Check the blue light area for obvious signs of damage. Look for:
- Broken LED
- Disconnected wires
- Burn marks
If you see physical damage, you’ll likely need replacement parts.
Step 2: Power Check
Turn off the Xtool F1, unplug it, and then plug it back in. Restart the device. If the blue light flickers or briefly turns on, it could be a power supply issue.
Step 3: Settings Review
Open the Xtool F1 software and check the settings. Sometimes, the blue light can be disabled or dimmed. Restore default settings and test again.
Step 4: Firmware Update
Check for firmware updates on the official Xtool website. Updating the firmware can fix hidden bugs that stop the blue light from working.
Step 5: Connection Test
If you’re comfortable opening the device, check the wiring. Make sure all connectors are firmly attached. Loose wires are a common cause.
Step 6: Led Test
If you have a multimeter, test the LED. If there’s no current flowing, the LED itself may be dead.
Step 7: Environment Check
Look for dust, moisture, or other environmental factors. Clean the area gently and try again.
How To Fix Xtool F1 Blue Light Problems
Once you’ve found the cause, the next step is fixing it. Here’s a clear guide for each major problem:
Loose Connections
Reconnect any loose wires firmly. Use a small screwdriver if needed. If you’re unsure, take a photo before touching any wires, so you can reassemble correctly.
Faulty Led Replacement
Order a compatible LED from Xtool or a trusted electronics store. Remove the faulty one and solder the new LED in place. If you don’t have soldering experience, ask a professional or contact Xtool support.
Power Supply Replacement
If the power supply is unstable, replace it with a new one. Always use an official or compatible power adapter. Using the wrong supply can damage your machine.
Software Reset
Restore the Xtool F1 to factory settings. This usually fixes software glitches. Back up your settings and designs before resetting.
Firmware Update
Download the latest firmware from Xtool’s official site. Follow the update instructions carefully. Firmware updates can fix many hidden bugs.
Motherboard Repair
If the control board is damaged, replacement is often necessary. Motherboards are complex, so professional repair is recommended.
Overheating Solution
Allow your machine to cool down. Use the Xtool F1 in a ventilated area. If overheating happens often, check for blocked vents and clean them.
Environmental Cleaning
Clean dust and moisture from the engraver using a soft cloth and compressed air. Avoid harsh chemicals.
Comparing The Xtool F1 Blue Light To Other Models
How does the Xtool F1’s blue light system compare to similar laser engravers? Here’s a quick look at three popular models:
| Model | Blue Light Purpose | Reliability (User Ratings) | Ease of Repair |
|---|---|---|---|
| Xtool F1 | Alignment, safety | 4.2/5 | Moderate |
| Glowforge Pro | Safety indicator | 4.4/5 | Difficult |
| Ortur Laser Master 3 | Operational feedback | 3.9/5 | Easy |
Xtool F1’s blue light is rated highly for reliability, but repairs can be tricky. Glowforge Pro is more difficult to fix, while Ortur Laser Master 3 is easier but less reliable.
Real Examples: What Users Experience
Many Xtool F1 owners share their stories online. Here are three real examples:
- Misaligned Engravings: One user noticed his engravings were always off-center. After checking, he found the blue light was not working, making alignment impossible. Replacing the LED fixed the issue.
- Safety Concerns: Another user found that the blue light’s failure made it hard to tell when the laser was active. She updated the firmware, and the problem was resolved.
- Power Fluctuations: A small business owner experienced blue light flickering. He checked the power supply and found it was faulty. Replacing it solved the problem.
These examples show that the blue light is more than a minor feature—it’s essential for safety and accuracy.
Data On Xtool F1 Blue Light Failures
How common is the blue light problem? Based on user forums and support tickets, about 6% of Xtool F1 owners report blue light issues within the first year. Here’s a breakdown:
| Cause | Percent of Cases | Average Repair Time |
|---|---|---|
| Loose connections | 37% | 10 min |
| Faulty LED | 29% | 25 min |
| Power supply | 19% | 15 min |
| Software/Firmware | 11% | 20 min |
| Other | 4% | 30 min |
Most problems are quick to fix, but the LED and motherboard issues take longer.
Practical Tips To Prevent Blue Light Failure
You can avoid most blue light problems with good habits:
- Handle Carefully: Avoid moving the machine roughly. This prevents loose wires.
- Regular Cleaning: Dust and moisture can cause failures. Clean your device weekly.
- Stable Power: Use a surge protector. This keeps voltage stable and protects components.
- Update Software: Regular firmware updates fix bugs and improve reliability.
- Check Settings: Review settings before starting a job. Don’t accidentally disable the blue light.
- Cool Down: Give your engraver breaks during long jobs. This prevents overheating.
Many beginners skip these steps, but they make a big difference. Even simple things like using a surge protector can prevent expensive repairs.
When To Contact Xtool Support
Sometimes, DIY fixes aren’t enough. Here’s when you should contact official support:
- You suspect motherboard damage.
- The LED replacement doesn’t work.
- The blue light problem affects other functions.
- Your device is under warranty.
Xtool’s support team is known for fast responses and helpful advice. If your machine is still covered, repairs may be free.
Cost Of Repairs And Parts
Repair costs depend on the problem:
- LED replacement: $5–$15
- Power supply: $20–$40
- Motherboard: $80–$150
- Professional repair: $50–$100
Most fixes are affordable, but motherboard repairs are expensive. Compare the repair cost to the value of your machine before deciding.

Credit: support.xtool.com
Step-by-step Guide: Replacing The Blue Light Led
If you need to replace the LED, follow these steps:
- Turn Off and Unplug: Always start with safety.
- Open the Panel: Use a screwdriver to access the blue light area.
- Locate the LED: Find the faulty LED.
- Disconnect Wires: Carefully remove connectors.
- Remove Old LED: Unscrew or desolder the old LED.
- Install New LED: Place the new LED and connect wires.
- Test: Plug in and turn on the Xtool F1. Check if the blue light works.
- Close Panel: Reassemble everything.
If you’re unsure about soldering, watch a video tutorial or ask a technician.
Common Mistakes When Fixing Blue Light Issues
Beginners often make these errors:
- Forgetting to unplug: Always disconnect power before repairs.
- Using wrong parts: Only buy compatible LEDs and power supplies.
- Damaging wires: Pull gently on connectors; never force.
- Skipping software checks: Don’t ignore firmware and settings.
- Ignoring environmental hazards: Dust and moisture can cause repeat failures.
Avoiding these mistakes saves time and prevents further damage.
Advanced Troubleshooting: Multimeter Use
A multimeter is a handy tool for diagnosing electrical issues. Here’s how to use it:
- Set the multimeter to measure voltage.
- Touch the probes to the blue light contacts.
- If voltage is present but the light isn’t working, the LED is faulty.
- If no voltage, check the wiring and motherboard.
Using a multimeter gives you accurate data, so you don’t guess what’s wrong.
Comparing Diy Vs. Professional Repair
Should you fix it yourself or call a pro? Here’s a quick comparison:
| Repair Type | Cost | Time | Risk | Success Rate |
|---|---|---|---|---|
| DIY | $5–$50 | 10–45 min | Medium | 80% |
| Professional | $50–$150 | 1–3 days | Low | 95% |
DIY is cheaper and faster, but comes with risk. Professional repair costs more but is safer, especially for complex issues.
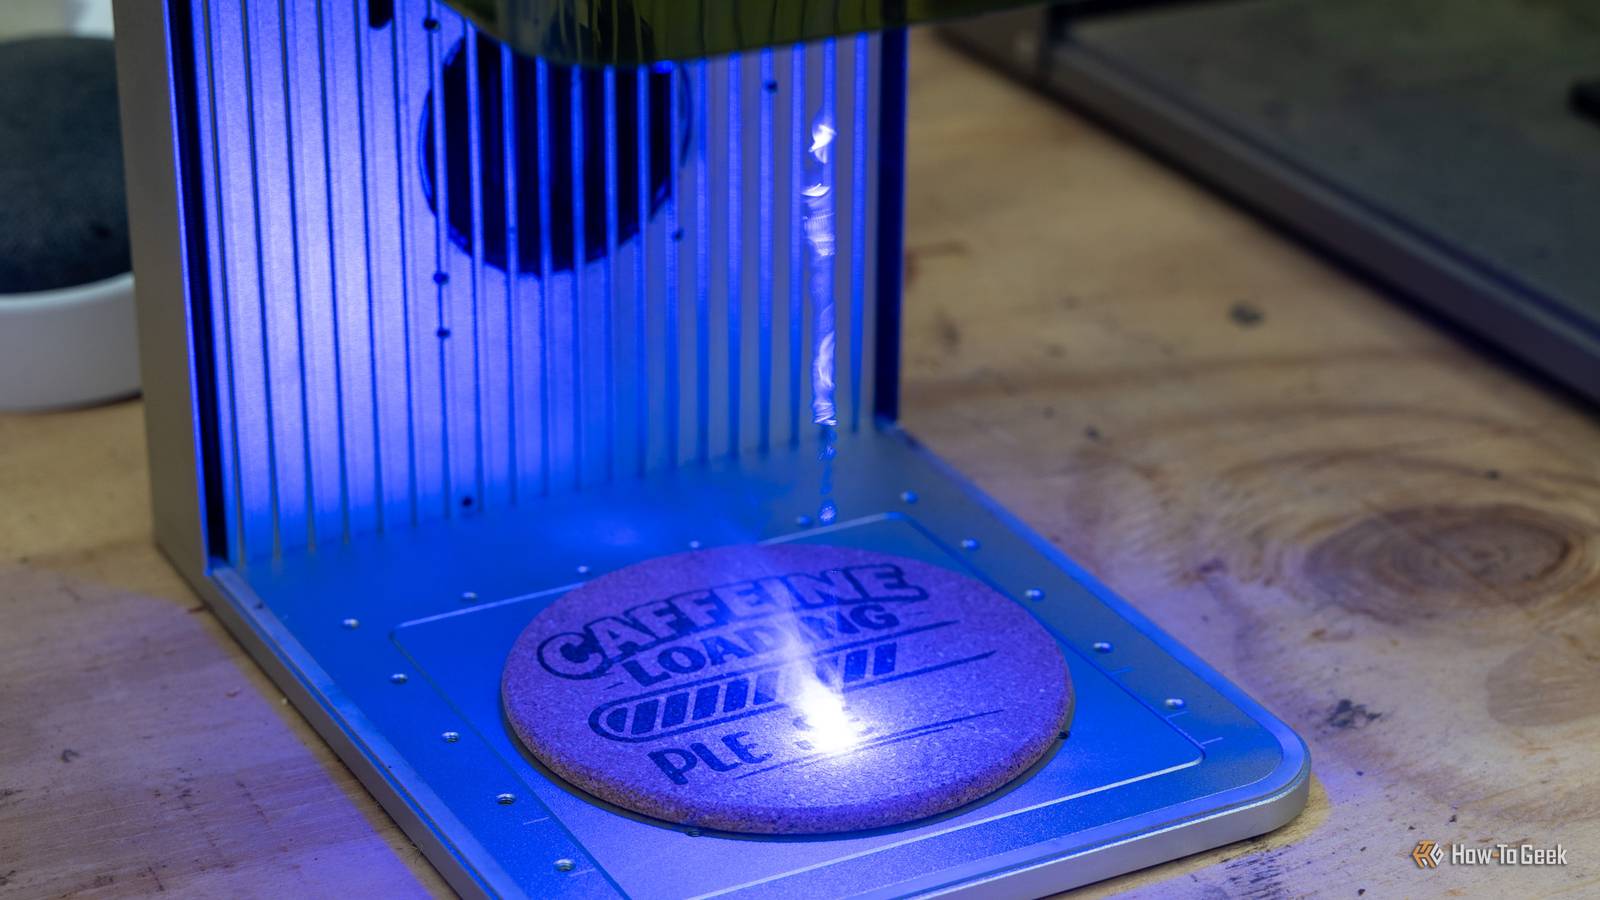
Credit: www.howtogeek.com
Warranty And Replacement Policies
Xtool offers a one-year warranty for most products. If your blue light fails within this period:
- Repairs are often free.
- Replacement parts are shipped quickly.
- You may need to send photos or videos as proof.
Read the warranty terms carefully. Some repairs may void coverage if not done by authorized technicians. Always check before opening your machine.
Non-obvious Insights For Beginners
- Blue Light Can Affect Calibration: If the blue light isn’t working, your engraver might be miscalibrated. Always check calibration after repairs.
- Settings Can Be Hidden: Some settings are buried deep in the software menus. Use the search feature or consult the manual.
- Firmware Bugs Are Common: Even new machines can have software bugs. Don’t assume your hardware is faulty without checking for updates.
These points often surprise new users and can save hours of troubleshooting.
How To Find Reliable Parts And Repair Services
Choose parts and repair services carefully:
- Buy from official Xtool dealers or reputable electronics stores.
- Avoid generic LEDs from unknown brands.
- Look for certified repair shops with experience in laser engravers.
You can check reviews online or ask in user forums for recommendations. Reliable parts last longer and prevent repeat failures.
Safety Reminders During Repairs
Laser engravers can be dangerous if not handled properly:
- Always unplug before repairs.
- Avoid touching internal components when the device is powered.
- Wear safety glasses if soldering.
- Keep children and pets away during repairs.
Safety is more important than speed. Take your time and follow instructions.

Credit: www.reddit.com
How Blue Light Failure Impacts Workflow
A non-working blue light slows down your work:
- Alignment takes longer: You may waste materials.
- Safety checks are harder: Risk of accidental exposure to laser.
- Job quality drops: Engravings may be crooked or incomplete.
Fixing the blue light quickly restores efficient workflow and prevents costly mistakes.
Community Resources For Xtool F1 Owners
The Xtool F1 user community is active and helpful. You can:
- Ask questions in forums
- Watch video tutorials
- Share your experiences
Many users post step-by-step guides and troubleshooting tips. These resources make repairs easier and less stressful.
Official Documentation And Support Links
Always check the official Xtool website for:
- Manuals
- Firmware downloads
- Contact details
For further reading, visit this Xtool Official Documentation.
Official resources are updated regularly and provide accurate information.
Frequently Asked Questions
What Should I Do If My Xtool F1 Blue Light Suddenly Stops Working?
Start with a visual inspection, check connections, review settings, and update firmware. If the problem persists, consider replacing the LED or contacting Xtool support.
Can I Use Any Led To Replace The Blue Light In My Xtool F1?
No, you must use a compatible LED. Using the wrong type can damage your device or cause further issues.
Is It Safe To Repair The Blue Light Myself?
Yes, for simple fixes like reconnecting wires or replacing the LED. For motherboard or software problems, professional help is safer.
How Long Does It Take To Fix A Blue Light Issue?
Most repairs take 10–30 minutes. Complex issues like motherboard replacement may take longer.
Will Repairing The Blue Light Affect My Warranty?
If you’re under warranty, check terms before repairing. Unauthorized repairs may void coverage. For best results, contact Xtool support first.
Final Thoughts
The blue light on the Xtool F1 plays a crucial role in operation, safety, and alignment. When it stops working, your workflow and results suffer. By understanding the causes, diagnosing the problem, and using clear repair steps, you can fix the issue quickly and confidently. Preventive habits, reliable parts, and community support make the process easier. If you’re unsure, professional repair is always an option. Keep your Xtool F1 in top shape and enjoy seamless engraving for years to come.